
Last updated September 24, 2026
Free in-home measure and quote - PGT, CGI and CWS impact lines compared on your actual openings, style by style
 Before
 After
After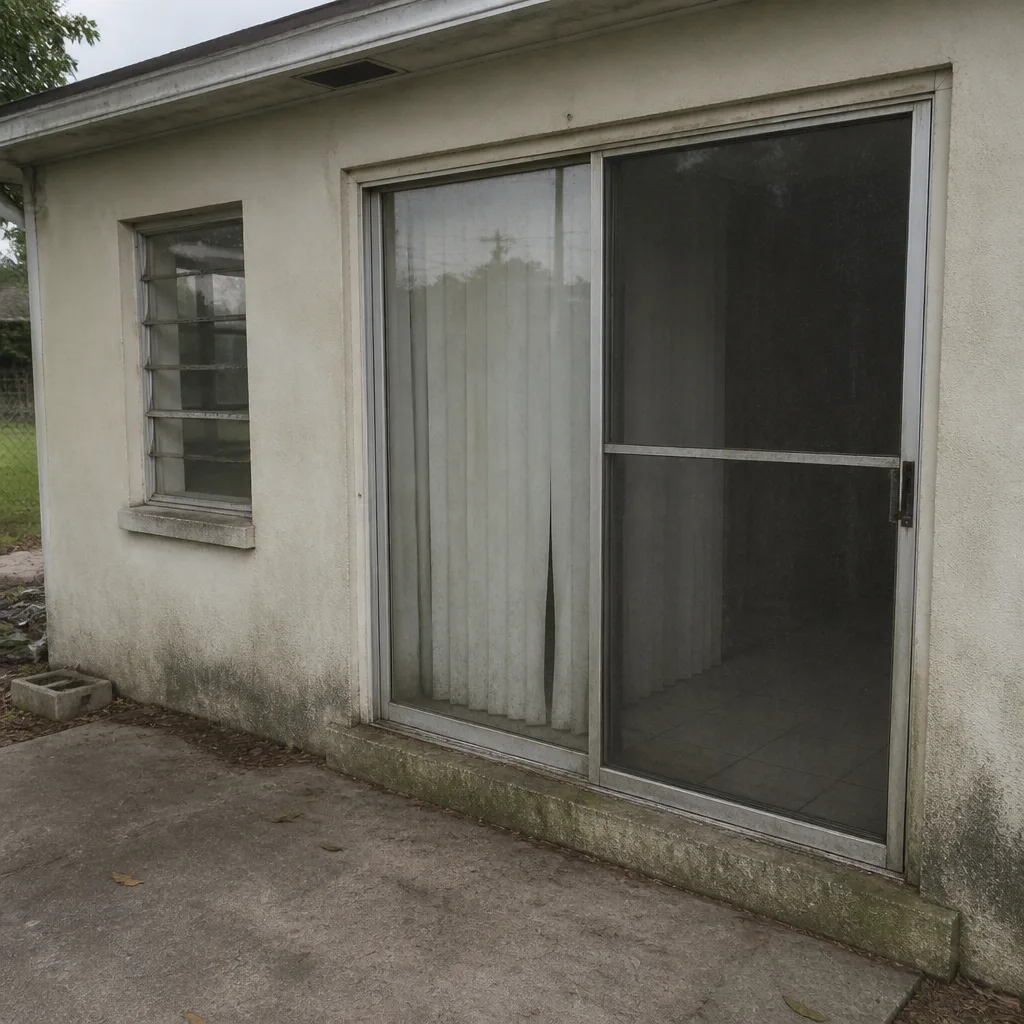 Before
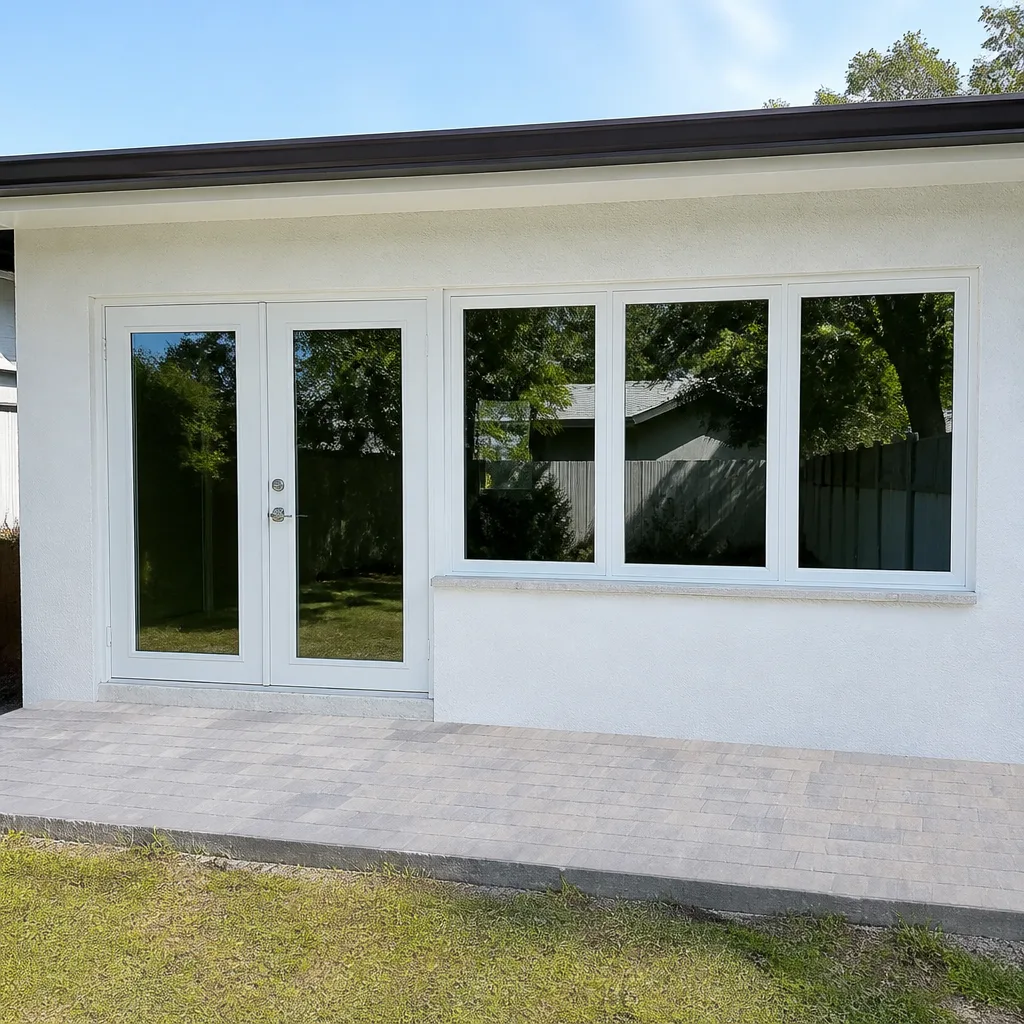 After
After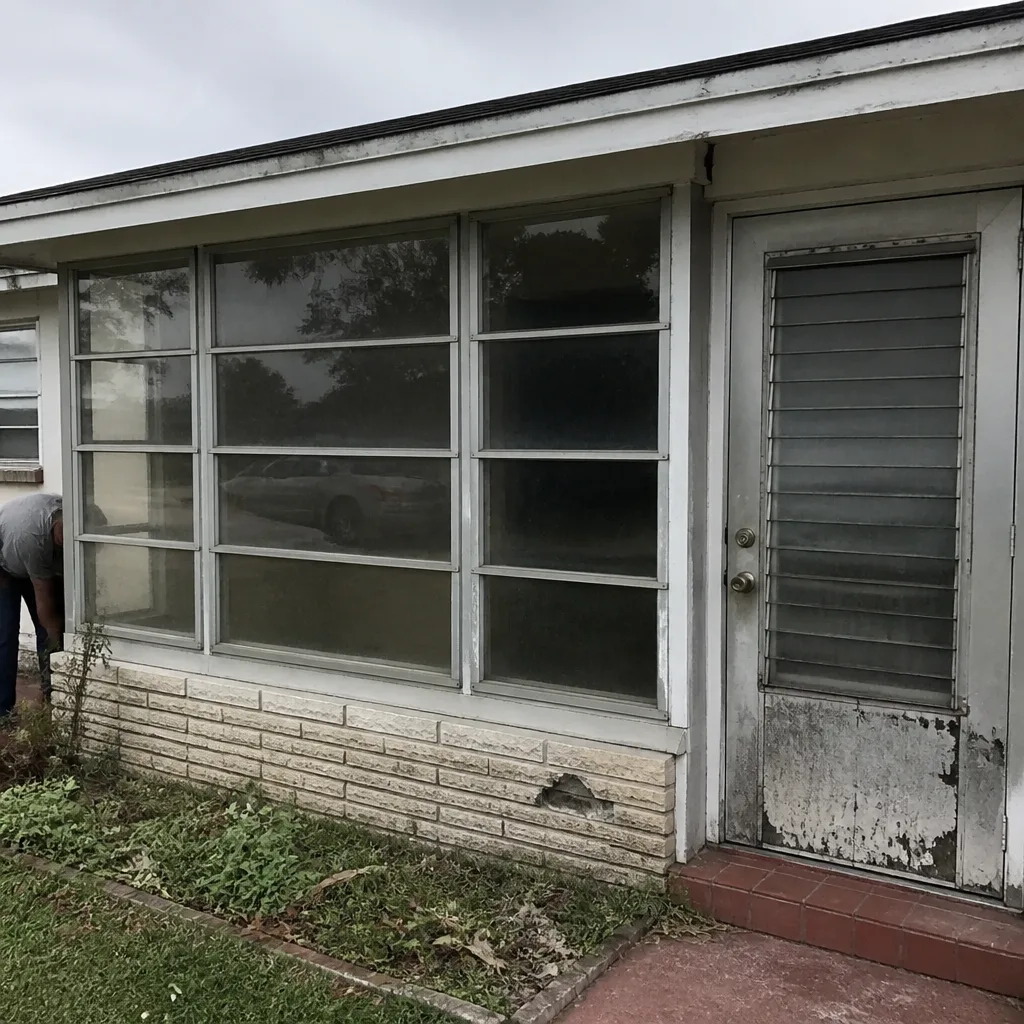 Before
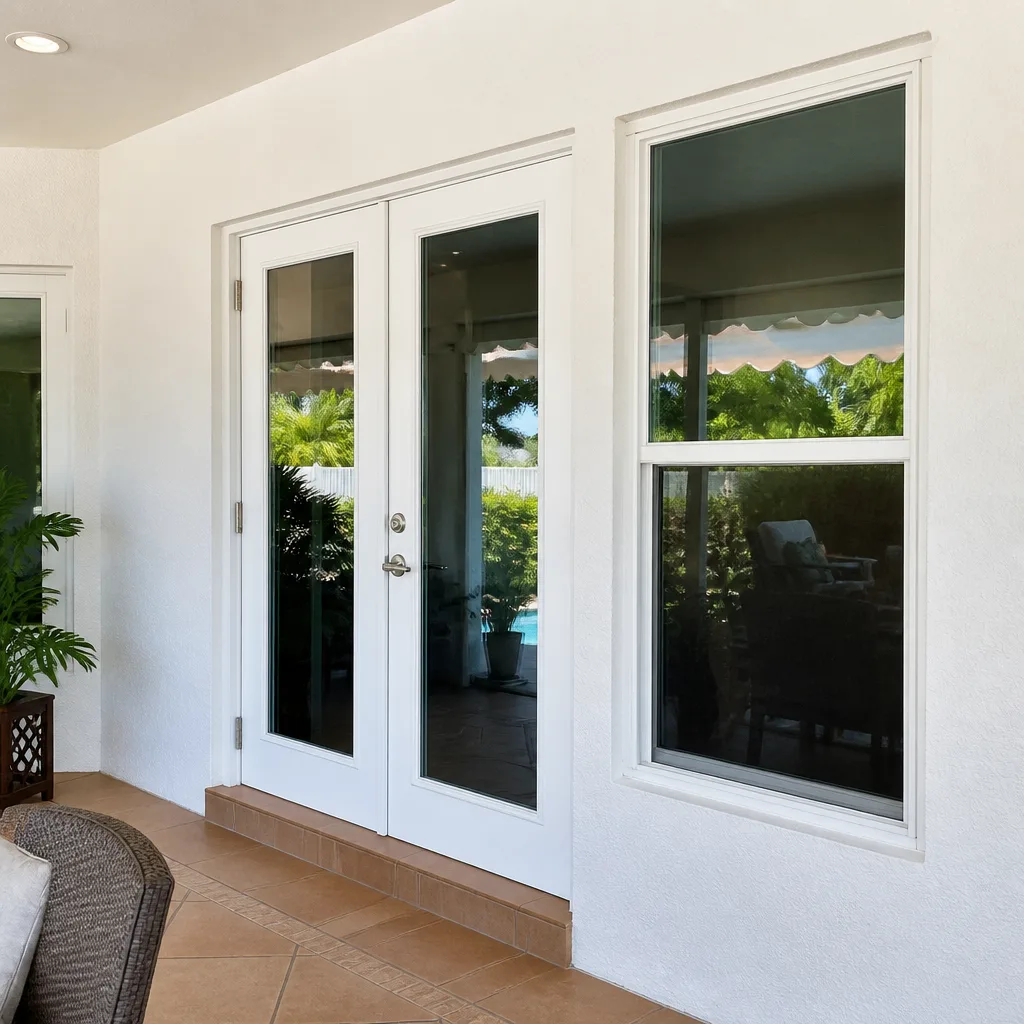 After
AfterWindows & Doors Warning Signs: A West Park Homeowner’s Reference Guide
Condensation between the panes of an insulated glass unit is not a seal failure. It is proof that a seal failure happened months or years earlier and has only now accumulated enough moisture to be visible. By the time a West Park homeowner notices that foggy stripe across the center pane, the repair cost is roughly four times what it would have been at first seal breach. This guide teaches you to read the earlier signals, the ones that appear six to eighteen months before visible damage, so you can act while the fix is still straightforward and priced predictably. For deeper background, see our Complete Guide to Windows & Doors in West Park.
Quick Answer
Window and door warning signs in West Park homes fall into five categories: operational resistance changes, frame and sash condition shifts, glazing anomalies, threshold water patterns, and aluminum oxidation stages. Most are detectable through simple visual and tactile inspection before professional confirmation is needed. The key is distinguishing between cosmetic issues and structural warnings that affect energy performance, code compliance, or wind-load integrity.
Table of Contents
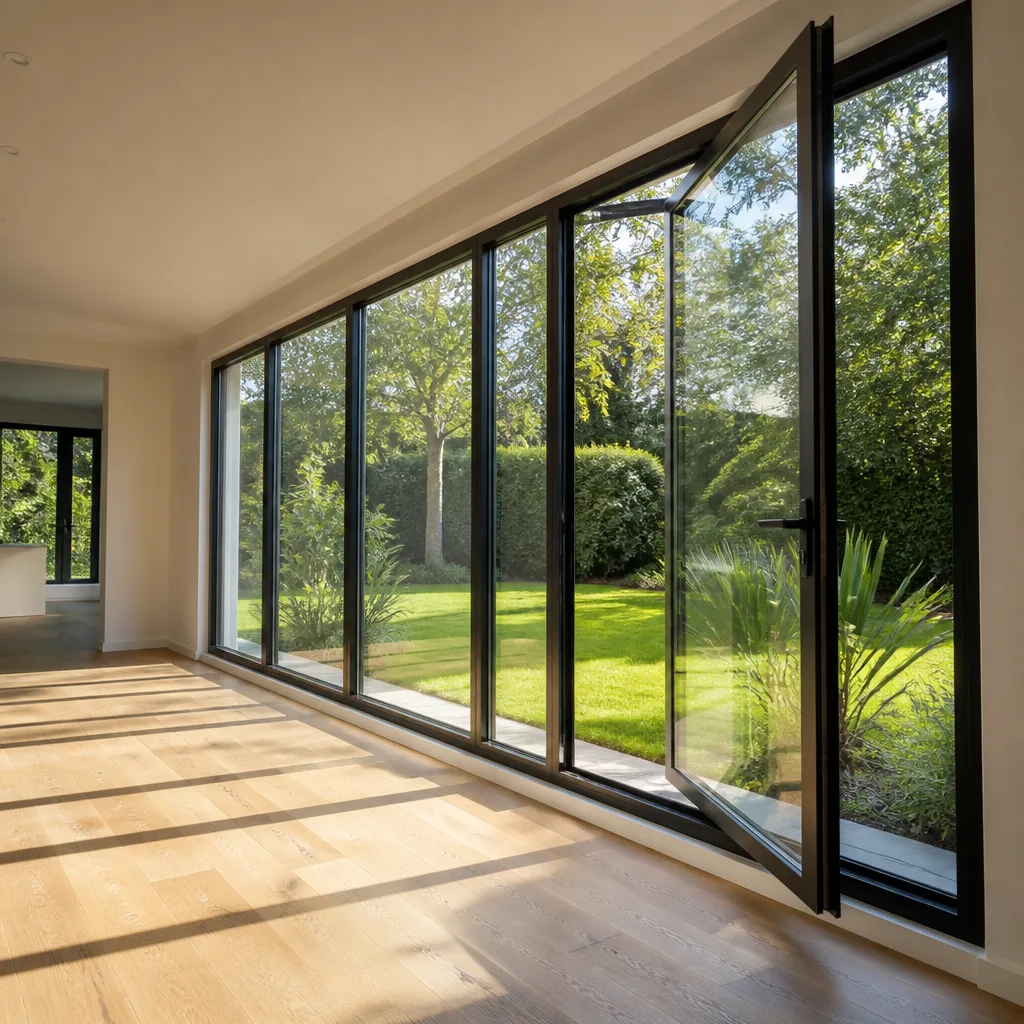
- The Operational Resistance Test: When Opening Force Reveals Frame Racking
- Paint Bubbling Diagnostics: Installation Failure vs. Product Failure
- Impact Glazing: Hurricane Film Delamination vs. Surface Scratching
- Threshold Water Staining: Reading Sill Pan Flashing Failure Early
- Aluminum Frame Oxidation Stages: Cosmetic, Thermal, Structural
- Seal Failure Precursors: Reading the Glass Unit Before Fog Appears
- Common Mistakes to Avoid
- When to Call a Professional
- Frequently Asked Questions
- The Bottom Line
 Before
 After
AfterThe Operational Resistance Test: When Opening Force Reveals Frame Racking
Every window has a designed operating force. For single-hung vinyl windows under AAMA/WDMA standards, the sash should move with no more than 8.5 pounds of pull force. For casement windows with crank operators, the torque should stay within manufacturer specification, typically felt as smooth rotation without catch points or grinding. When these values drift, the cause is rarely the hardware itself.
Frame racking from structural movement is the most common early signal we document in West Park homes built between 1950 and 1990, particularly in the neighborhoods east of Park Boulevard where the fill soils are less compacted. The frame twists microscopically. The sash binds in one corner before the other. The homeowner compensates by pulling harder, which accelerates wear on the balance system or crank gears.
Here’s how to test before the damage compounds:
- Measure the baseline. Open and close every operable window on a cool morning, before thermal expansion affects the fit. Note which direction requires more force: vertical lift, horizontal slide, or rotational crank.
- Check for diagonal binding. A sash that lifts cleanly on the left but catches on the right indicates frame racking. A casement that seals tight at the top but gaps at the bottom suggests the frame has shifted in its rough opening.
- Listen for the sound change. Properly fitted hardware produces consistent friction noise. A new grinding, clicking, or squeal at one point in the travel means something has moved out of plane.
- Inspect the reveal. The gap between sash and frame should be uniform around all four sides. Variation exceeding 1/8 inch at any point warrants measured survey documentation.
In our work across West Park, we’ve found that windows installed without proper shimming against structural members show this pattern within three to seven years. The Window Installation in West Park process we follow specifies continuous shimming at 12-inch intervals with documented fastener torque values, precisely to prevent this drift. The measured survey we leave with every customer includes baseline operating force notes, so future changes are detectable against a written record.
What you should not do: lubricate the binding point and continue operating. The lubricant masks the symptom while the racking progresses. By the time the hardware fails completely, the frame may have distorted enough to require full replacement rather than adjustment.
Paint Bubbling Diagnostics: Installation Failure vs. Product Failure
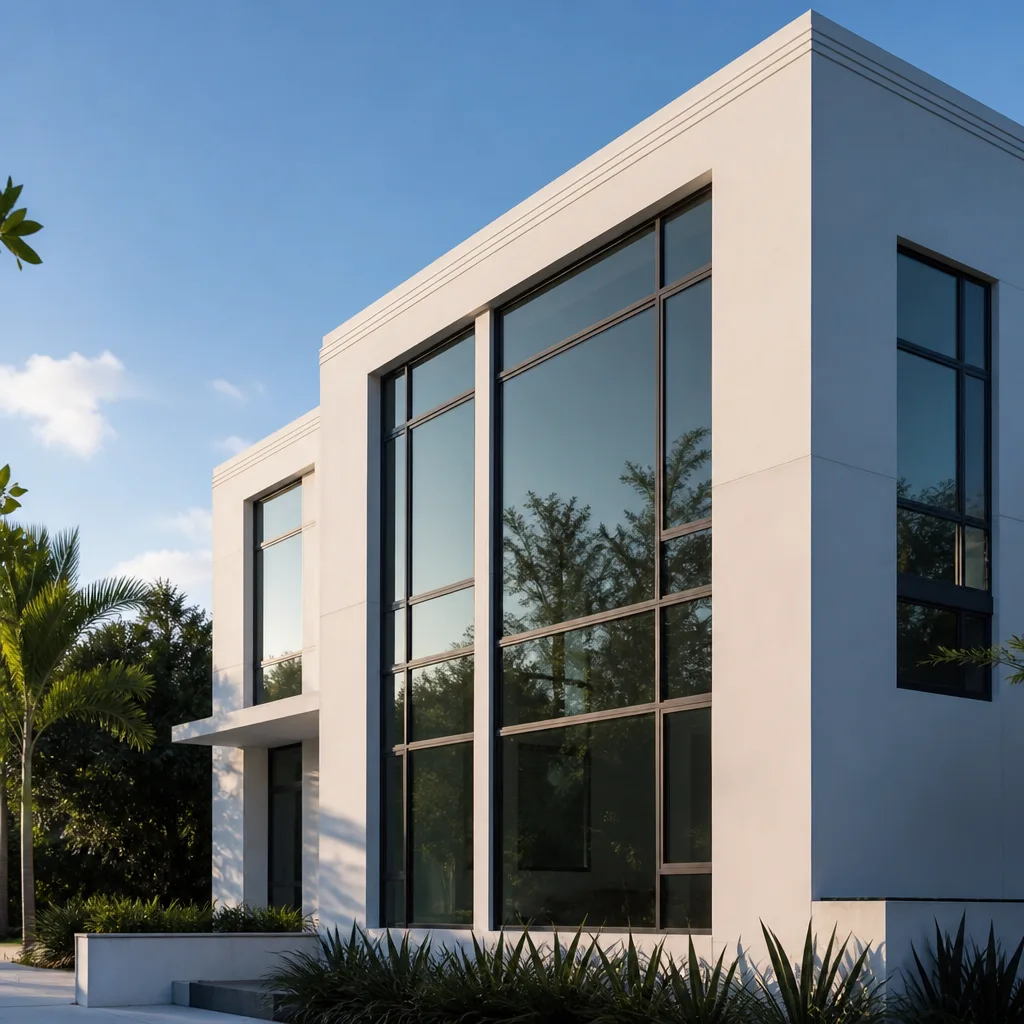
Paint bubbling in a 2-inch band around a window frame is one of the most misread signals in residential construction. Homeowners and even some contractors default to blaming the paint or the window product. The actual cause follows a diagnostic sequence that determines who bears responsibility and what fix will last.
Start with location. Bubbling on the interior face of the frame, particularly at the lower corners, indicates bulk water intrusion from the exterior - a flashing or sealant failure at installation. Bubbling on the exterior face, especially at the head (top) of the frame, points to vapor drive from the interior - warm, moist air condensing against the back side of exterior cladding. Bubbling uniformly on all surfaces suggests product failure: inadequate factory primer adhesion or incompatible coating chemistry.
The critical distinction for West Park homes: our cooling-dominated climate produces different vapor drive patterns than heating-dominated regions. Interior moisture loads peak in summer when air conditioning creates cold interior frame surfaces. A window properly specified for Miami-Dade’s climate zone should account for this with appropriate interior surface temperatures, measured by U-factor and frame construction.
The diagnostic sequence:
- Probe the bubble. Intact paint film over dry substrate rules out active moisture and points to surface contamination or incompatible coatings.
- Check the pattern against frame joints. Bubbling aligned with miter or mechanical joints indicates water migration at assembly points, common in lower-tier products with unsealed internal chambers.
- Inspect the exterior sealant bead. Gaps, shrinkage, or absence of backer rod where the frame meets the wall surface redirect water behind the cladding. This is installation failure, not product failure.
- Verify the sill pan. In West Park’s flat terrain with seasonal heavy rainfall, a missing or improperly lapped sill pan allows water to pool at the rough opening base, wicking upward into the frame.
We’ve documented this sequence on hundreds of West Park homes. The Window Replacement in West Park jobs that stem from paint bubbling are split roughly evenly between installation correction and product upgrade. The measured survey we perform distinguishes which path applies before any pricing is developed. Haven Clause 1 requires that the written quote specify the diagnosed cause, not just the proposed product.
One specific West Park factor: homes in the Carver Ranches and Lake Forest areas, built during the 1970s construction boom, often have original aluminum windows with factory anodized finishes that were field-painted later. The adhesion failure between anodized substrate and latex topcoat produces a bubble pattern easily mistaken for moisture intrusion. The fix is mechanical abrasion and specialized primer, not window replacement - but only a documented inspection confirms this.
Impact Glazing: Hurricane Film Delamination vs. Surface Scratching
Impact-rated windows in West Park must maintain code compliance to satisfy Florida Building Code requirements for the High-Velocity Hurricane Zone. A common point of confusion: visible marks on impact glazing that may indicate delamination of the interlayer film, which compromises structural performance, or surface scratching, which does not.
Impact glazing consists of two or more glass lites bonded with a polyvinyl butyral (PVB) or ionoplast interlayer. This interlayer is what holds the glass in place when struck by wind-borne debris. Delamination occurs when the bond between glass and interlayer separates, typically from edge exposure to moisture, thermal cycling stress, or manufacturing defect. Surface scratching affects only the outer glass surface and does not penetrate to the interlayer.
The visual distinction matters for code compliance. A delaminated impact window may no longer meet the large-missile impact standard it was rated for. A scratched window, even severely, retains its structural rating provided the scratch depth does not exceed 10 percent of the lite thickness - a measurement we verify with caliper inspection during our documented surveys.
How to distinguish them:
- View at oblique angle. Delamination produces a cloudy, iridescent, or rainbow-like area that shifts with viewing angle. Surface scratches appear as distinct lines with consistent appearance from all angles.
- Check location. Delamination starts at edges where the interlayer is exposed to atmosphere through seal failure. Scratches occur anywhere on the surface and follow patterns consistent with contact (horizontal from cleaning, radial from tool contact).
- Feel with fingernail. A scratch catches the fingernail. Delamination is internal and smooth to the touch.
- Measure extent. Delamination spreading more than 1/2 inch from the edge or covering more than 5 percent of the lite area triggers replacement under most manufacturer warranties. Surface scratches require engineering evaluation only if they cluster near a corner or edge.
West Park’s specific exposure matters here. Homes within two miles of the coast, particularly in the eastern sections near the Dania Beach line, experience higher salt aerosol loading. This accelerates edge delamination in windows whose edge seals were compromised during installation handling. The CWS and ES Windows product lines we specify for coastal exposure include enhanced edge seal systems with dessicant continuity to address this.
We do not recommend DIY replacement of impact glazing. The structural fastening pattern, anchorage to the frame, and post-installation verification against design pressure ratings require documented procedures. Our Haven Clause 4 - Evidence on every job - includes photographic documentation of impact label retention and fastening pattern compliance.
Threshold Water Staining: Reading Sill Pan Flashing Failure Early

Door threshold water staining follows patterns that reveal failure sequence before subfloor damage becomes visible from above. The key is reading the stain location, color progression, and associated material changes in the correct order.
Staining at the center of the threshold, darkening toward the interior edge, indicates sill pan flashing that is present but improperly lapped or drained. Water enters the rough opening, pools in the pan, and overflows at the low point rather than draining to the exterior. This is common in West Park homes with slab-on-grade construction where the threshold sits close to finished grade and drainage slope is minimal.
Staining at the threshold ends, particularly the hinge jamb side, indicates missing end dams on the sill pan. Water follows the jamb flashing down, hits the open end of the pan, and migrates laterally into the wall framing. This pattern produces the most expensive damage because it remains hidden until the wall base shows swelling or the finish flooring cups.
Staining with associated efflorescence (white powdery deposit) on concrete or tile thresholds indicates chronic, low-volume water passage with evaporative concentration of dissolved salts. This is the slowest-progressing failure mode and the most easily misdiagnosed as cleaning residue.
The inspection sequence we use:
- Daylight the threshold. Remove interior transition strip or threshold cap if designed for access. Document with photograph before disturbance.
- Probe the subfloor edge. A moisture meter reading above 16 percent in wood-based subflooring indicates active water passage. Concrete subfloors require relative humidity testing at 40 percent depth.
- Trace the stain pattern to its highest point. Water stains extend downward and outward from the entry point. The highest point of discoloration locates the breach.
- Inspect exterior slope and sealant. Negative slope toward the door, or sealant failure at the frame-wall interface, are the most common installation defects we find in West Park’s 1990s-era construction.
West Park’s flat topography and high water table compound threshold issues. During the summer rainy season, perimeter drainage is often overwhelmed, and water stands against thresholds for hours. A properly installed sill pan with positive drainage to exterior and sealed end dams is the minimum standard; many homes we inspect lack this entirely, relying only on caulk at the frame perimeter.
The Door Installation in West Park specification we follow requires liquid-applied flashing at the rough opening with integral sill pan dam, documented with photographs before the door unit is placed. This is not upgrade work. It is standard procedure under the Haven Standard, included in the written price from the measured survey.
Aluminum Frame Oxidation Stages: Cosmetic, Thermal, Structural
Aluminum window and door frames in West Park’s salt-air environment oxidize predictably through three stages. Each stage has distinct implications for energy performance and structural integrity. Misidentifying the stage leads to either premature replacement or dangerous deferral.
Stage 1: Surface oxidation (cosmetic). A dull, chalky film on the aluminum surface that transfers to a cloth when wiped. This is aluminum oxide, a protective layer that forms naturally. It does not reduce structural capacity. On anodized finishes, this stage may appear as color fading without chalking. The thermal break, if present, remains fully functional. Treatment is cleaning and optional clear coat restoration. Replacement is not indicated.
Stage 2: Pitting with thermal break exposure (thermal performance compromised). Localized pitting penetrates the anodized or painted coating to bare metal. In thermally broken frames, the pitting approaches or exposes the polyamide strip that separates interior and exterior aluminum extrusions. Once salt air reaches this interface, the thermal break material degrades, and the frame’s U-factor deteriorates. The frame still meets structural loads, but energy performance drops measurably. We document this stage with infrared imaging showing thermal bridging at the pit locations.
Stage 3: Section loss with structural member degradation (wind-load integrity affected). Pitting progresses to measurable reduction in wall thickness of load-bearing extrusions. The frame may show flexural movement when operated. Fastener holes elongate. In extreme cases, the glazing bead retention fails. This stage requires replacement for code compliance in HVHZ areas like West Park, because the design pressure rating can no longer be verified.
The progression timeline varies dramatically by exposure and original finish quality. We’ve observed Stage 1 to Stage 3 progression in as little as seven years on unprotected aluminum in direct salt spray near the eastern West Park boundary, and as long as twenty-five years on properly maintained, high-quality anodized finishes in more sheltered locations. The ECO Window Systems and Mr-Glass product lines we specify for coastal West Park applications include enhanced anodized finishes with 25-micron minimum thickness and optional Kynar 500 fluoropolymer topcoats for maximum salt resistance.
Critical inspection points: the horizontal surfaces (sill and head) oxidize faster than verticals due to water retention. The exterior face of the frame oxidizes faster than the interior. Joints and fasteners are early indicators because galvanic reaction between dissimilar metals accelerates local corrosion. We include these points in our measured survey documentation with photographic evidence of stage classification.
Seal Failure Precursors: Reading the Glass Unit Before Fog Appears
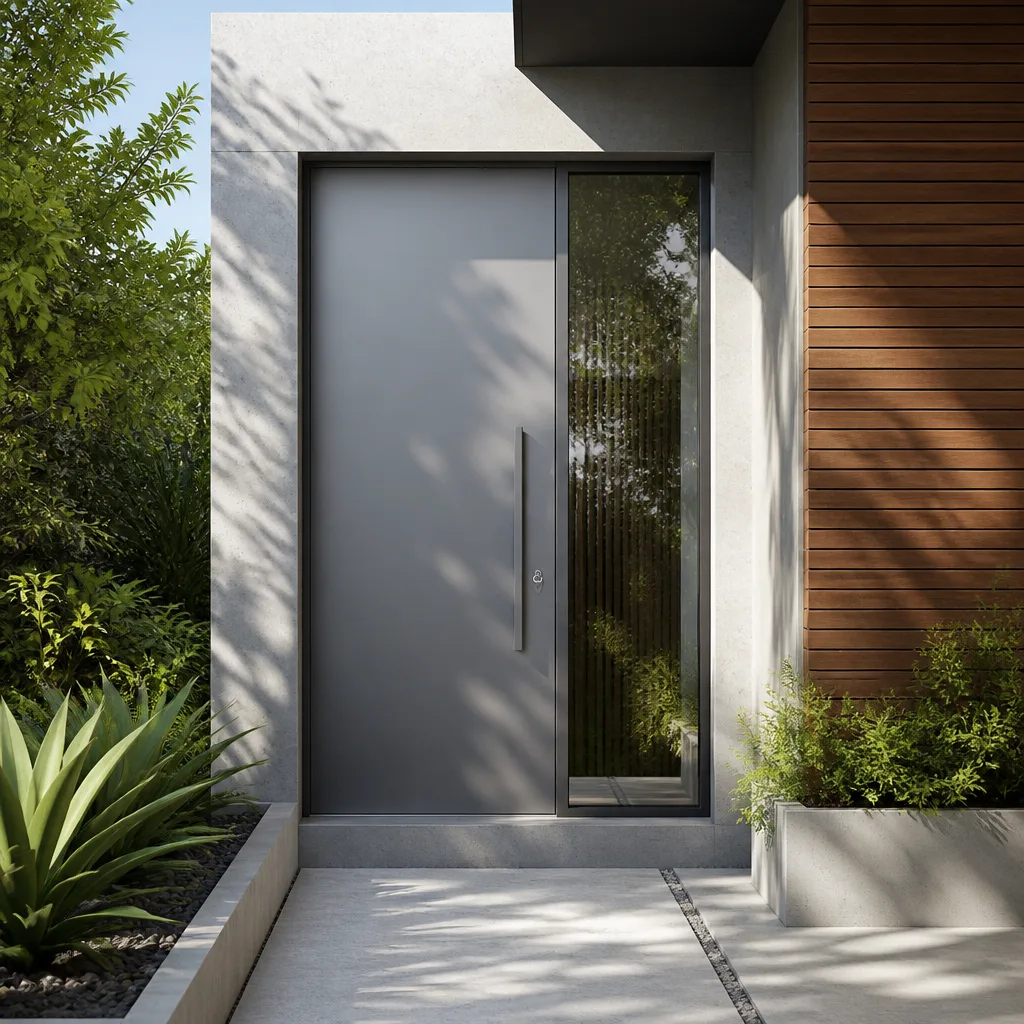
The visible fog between panes is the final stage of seal failure, not the first. The insulated glass unit (IGU) seal fails when the primary polyisobutylene seal loses adhesion to the glass or the secondary silicone structural seal develops cracks. Atmospheric pressure cycling, thermal shock, and UV degradation drive this process. West Park’s climate produces all three stressors in concentration.
Before fog appears, several precursors are detectable:
- Edge mirror distortion. The metallic low-e coating at the glass edge, visible as a reflective strip, begins to oxidize or delaminate when moisture enters in trace amounts. This appears as darkening or irregularity in the mirror band, visible when viewed from an angle against sky reflection.
- Desiccant saturation indicators. Some IGUs include color-change desiccant visible at the spacer edge. A shift from blue to pink (indicating moisture uptake) precedes visible fog by months. Most modern spacers hide this, but older units, common in West Park’s 1980s housing stock, may show it.
- Spacer deformation. The aluminum or stainless spacer bar between panes bows or twists as desiccant expands with moisture uptake. This is visible as straight-line distortion in reflected images.
- Argon loss thermal signature. With infrared imaging, an argon-filled IGU that has lost its gas shows measurably different center-of-glass temperature than its edges. Our documented surveys include this measurement where original gas fill is known.
The cost progression is stark. At first seal breach, before moisture accumulation, some manufacturers permit edge resealing - a repair typically priced at $80-$140 per square foot of lite area. Once desiccant saturation and visible fog occur, the IGU must be replaced entirely, at $180-$340 per square foot for standard sizes, higher for custom geometries. Full sash and frame replacement, required when the IGU is no longer available in the original configuration, runs substantially above this.
West Park’s specific risk factor: the daily thermal cycle in unshaded, east- or west-facing windows produces repeated expansion-contraction stress on the edge seal. Windows without overhang protection or with dark exterior frames absorb maximum solar gain. We’ve found that south Florida homes with these exposures show seal failure precursors at 40-60 percent of the service life expected for shaded or north-facing units.
The measured survey we provide includes IGU edge inspection with magnification and photographic documentation of any precursor indicators. This allows replacement planning before emergency conditions develop. Haven Clause 5 - No surprises - applies: the written price for monitored conditions is established before the failure progresses to visible fog.
Common Mistakes to Avoid
- Applying caulk over failed sealant without substrate preparation. The new caulk adheres to the old, which continues releasing from the frame. Within one rainy season, the repair fails worse than the original condition. Proper practice is complete removal, solvent cleaning, and backer rod installation before new sealant application.
- Assuming all impact windows are equal for West Park’s HVHZ requirements. Miami-Dade Notice of Acceptance (NOA) specifies product-by-product approval. A window rated for Broward’s wind zone may not satisfy the stricter West Park requirements. Verify the NOA number against the specific address.
- Ignoring operational resistance changes as “settling.” Structures do not settle in ways that selectively bind one corner of one window. Operational changes indicate measurable frame distortion that progresses until hardware fails or glass breaks.
- Power-washing aluminum frames at close range. High-pressure water drives salt and contaminants into pitting and joint gaps, accelerating oxidation. Low-pressure rinse with immediate drying is the correct maintenance.
- Replacing only the visible failed IGU in a multi-window bank. Windows installed simultaneously in the same exposure typically share manufacturing batch, installation conditions, and thermal stress. One failure predicts others. Budget for systematic replacement.
- Accepting verbal warranty terms without written documentation. The 365-Day Done Right Promise we provide is written into every contract under Haven Standard Clause 5. Verbal assurances from any contractor are unenforceable.
- Delaying inspection after hurricane exposure. Even without visible glass breakage, frame fastener stress and seal compromise from pressure cycling require documented inspection. Florida statute provides specific claim windows that expire.
When to Call a Professional
Call for documented inspection when: operational force increases measurably on any window or door; paint bubbling appears in the frame perimeter band; any mark on impact glazing cannot be positively identified as surface-only; threshold staining shows darkening progression; aluminum pitting approaches or exposes the thermal break; or any precursor of IGU seal failure is suspected. These conditions do not improve with observation.
Sightline Windows & Doors West Park offers free estimates in West Park. Every estimate begins with a measured survey you keep, and the written price before any work starts is non-negotiable under Haven Clause 1. Call (786) 685-4706 to schedule. We also provide free second opinion on any written estimate from another contractor - bring us their scope and pricing, and we’ll review it against what the opening actually requires.
Frequently Asked Questions
Window replacement in West Park typically ranges from $650 to $1,400 per opening for standard vinyl or aluminum units, and $1,200 to $2,800 for impact-rated products meeting Miami-Dade HVHZ requirements. Custom geometries, historical replication, or structural reframing move above these ranges. The exact price depends on frame condition, opening square footage, and performance specifications. Call (786) 685-4706 for a written estimate based on measured survey - estimates are free.
No. Haven Clause 1 of the Haven Standard states that the measured survey and the written quote are the same document. If we encounter concealed conditions not detectable during survey, we document them, stop work, and present a revised scope with revised price before proceeding. You approve any change in writing. No surprises.
Yes. Every window and door replacement in West Park requires permit through Broward County Building Division. We prepare the application, submit on your behalf, and schedule inspections. The permit cost is itemized in the written quote. Final inspection approval is documented with photograph and included in your project record.
A standard single-opening replacement requires four to six hours of installation time. Full-home replacement of 10-15 openings typically spans three to five working days, depending on exterior access, weather, and inspection scheduling. We specify start and completion dates in the written scope, with daily progress documentation.
Code compliance requires three verifications: the product maintains valid Miami-Dade Notice of Acceptance for the specific model and size; the installation matches the NOA-approved fastening pattern and anchorage; and the glazing shows no delamination or structural compromise. Our documented survey verifies all three conditions with photographic evidence. If any element fails, we specify replacement or remediation in the written scope.
The 365-Day Done Right Promise is written into every contract under Haven Standard Clause 5. If any element of the installation is not done right, we make it right - including operation, finish, sealant performance, and hardware function - for one full year. This is not a manufacturer’s product warranty; it is our workmanship commitment, backed by the documented photo record from your installation. Standard warranties typically cover only product defects, not installation quality.
Yes. Modern impact-rated products from lines like CWS and ViewLux include narrow-frame designs, divided-lite patterns, and color options that replicate non-impact aesthetics. The structural interlayer is internal and invisible. Performance ratings vary by design, and we specify the appropriate product by what the opening requires, not by what is in stock. The measured survey includes aesthetic preference documentation alongside structural requirements.
The Bottom Line
Window and door failure in West Park announces itself early to homeowners who know what to observe. Operational resistance changes, paint bubbling patterns, glazing mark distinctions, threshold stain locations, and aluminum oxidation stages each carry specific diagnostic meaning. Reading these signals correctly separates cosmetic maintenance from structural intervention, and early intervention from emergency replacement. The measured survey, written price, and documented photo record are the tools we use to make this determination explicit and verifiable. Explore more guides & resources on window and door care for West Park homes. Every opening we’ve touched since 2012 - more than 18,000 - has followed this protocol under the Haven Standard.
Call (786) 685-4706 to schedule your free estimate. Bring us a competitor’s written quote and we’ll provide a free second opinion. The measured survey is yours to keep, and the written price is fixed before any work begins.
Written by Sonia Raman, Owner at Sightline Windows & Doors West Park, serving West Park since 2012.